In order to start processing payments via Saferpay you will first have to to get a merchant account. Once you signed the contract with Saferpay you will receive an account to the Saferpayadministration interface that can be found under this link: https://www.saferpay.com/BO/Login
Once you are in possession of the account information you can continue with the configuration of the processor.
You can create your own test account at Saferpay by filling out the Application Form. You will receive test login access details that can be used to login to the test platform.
Once you signed up for a merchant account with Saferpay you will receive an email that contains all the necessary information for the configuration of the SaferpayProcessor.
First of all the Saferpay processor has to be configured. In order to do this navigate to Space > Payment > Configuration > Processors . Click on the create processor configuration and type Saferpay into the field to select the processor to start the configuration.
You will find the administration access of you account under the following links:
-
Test-Platform: https://test.saferpay.com/BO/Login
-
Live-Platform: https://www.saferpay.com/BO/Login
The operation mode lets you choose between the test and the live mode. In the test mode you have the option to test with your Saferpay test account. The configuration are exactly identical between live and test platform.
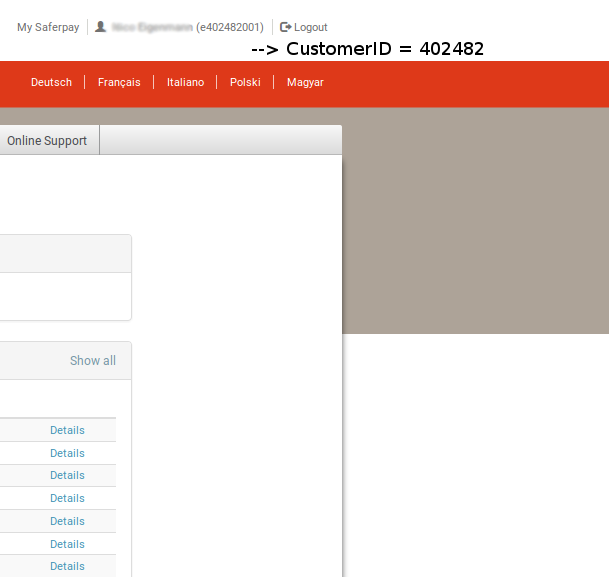
You will also need a Customer ID. You will find this at the top right. Next to your user name there is a number in brackets. ()It looks like this: e402487002). Your Live Customer ID consists of this number. Simply leave away the e and the last three digits and you will receive your Customer ID. It consists of six digits. In the example above your Customer ID would be 402487. (Compare with screenshot further below)

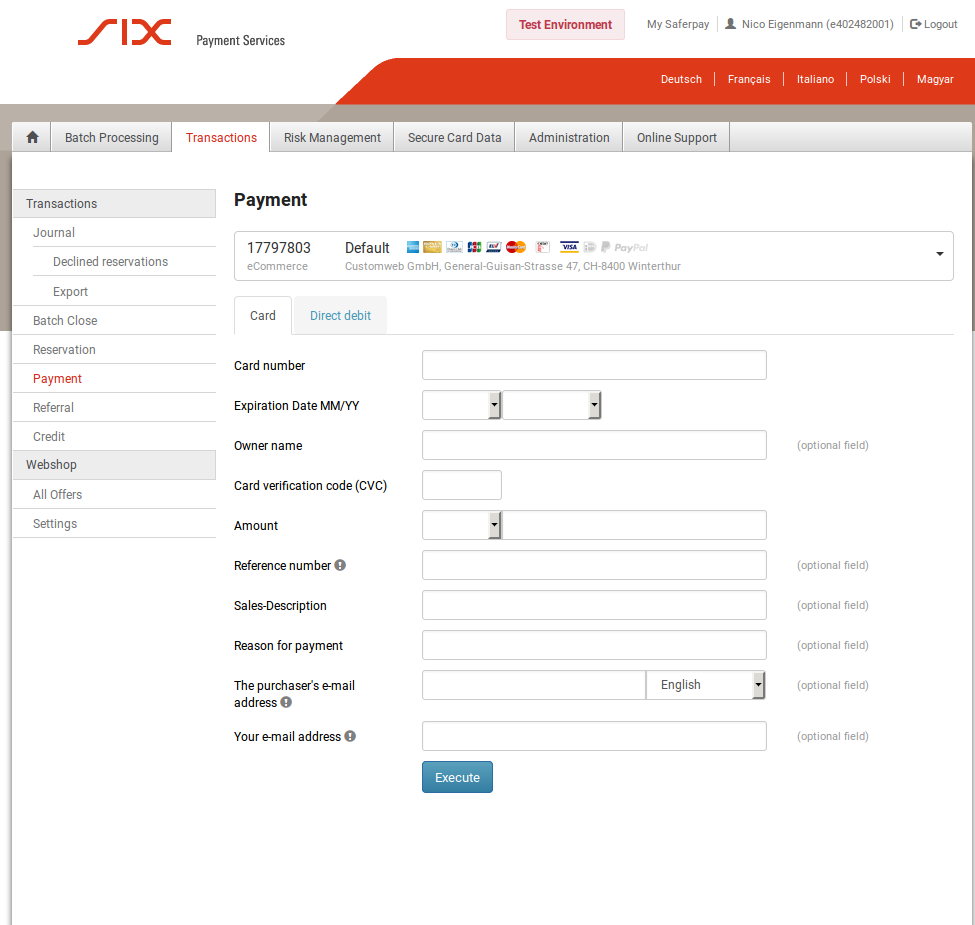
For the Live Terminal ID you need to go to Transactions > Payment and in the bar at the top you will find an eight digit number. That is your Live Terminal ID. (In the screenshot it’s the number 177xxxxx)

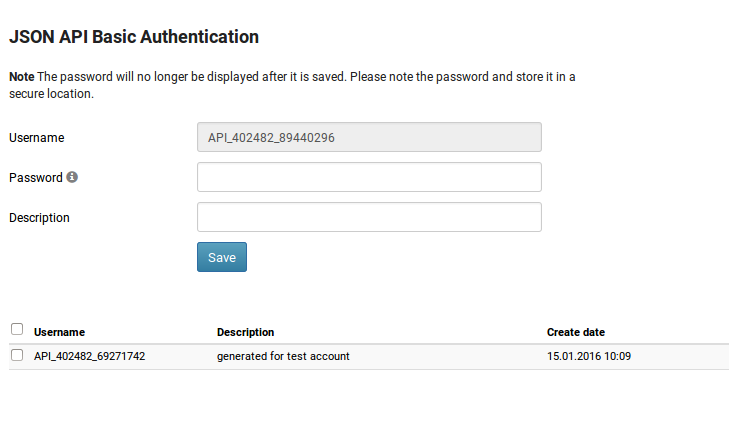
The access data for the JSON API can be created via Administration > JSON API. Here you can chose a password. The user will be generated automatically. Copy the password and the user name to your processor configuration.

If you have not already you have to create the payment methods that you want to process through Saferpay. In order to do this navigate to Space > Configuration > Processor > Payment Methods and add the payment methods.
Last but not least you have to link the payment methods with the processor configurations to connector configurations for each payment methods you want to process. In order to do this navigate to Space > Configuration > Processor > Connector and create a new Connector Configuration.
Inside the connector configuration you find various settings that are specific to the payment process of this connector (fraud settings, PDF invoice settings, E-Mail settings, etc.). For more information about the processor concept and how this work have a look at our Payment Documentation.